

6 Must-Know Studio Lighting Tips and Tricks
- Written by Adam Jacobs
Light is a fundamental element in photography. It has the key role of bringing photos to life. It also generates effects that make images more interesting.
Additionally, lighting defines and enhances the tone and mood of a photoshoot and the resulting pictures. It also gives texture to colours and makes them more vibrant in photos.
Because of these reasons, all photographers need to know how to manipulate and work with light to come up with magnificent photos — ones that will satisfy your clients.
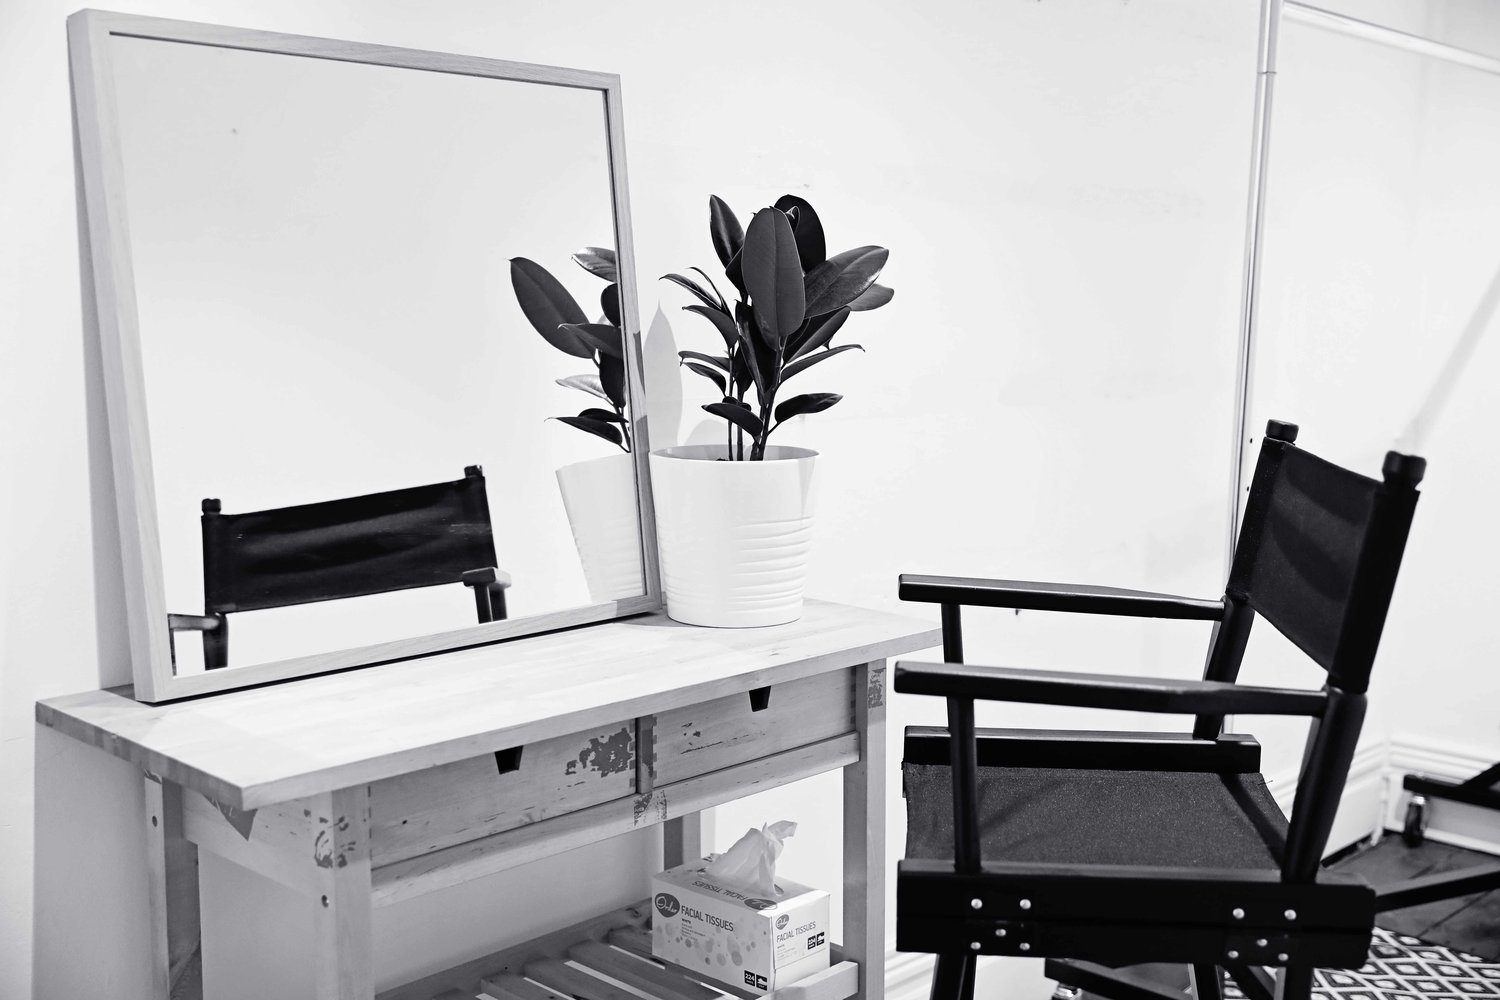
Using Light to Take Great Photos in a Studio
If you are taking photos as a professional for the first time and have just invested in a photography studio rental in Melbourne to pursue this career, here are six vital lighting tips and tricks you need to know that will help you produce photos that meet your clients’ wants and needs:
There are four main categories of light that you will need in studio photography. These are:
-
Key light – This is the primary, most important light you will use during a studio photoshoot. Its main role is to highlight the form of your subject. Stage lights, lamps, lighting fixtures, and even sunlight can be sources of your key light.
-
Fill lights – This type of illumination softens the shadows on your subject. Lighting fixtures can also be used to provide this kind of light. Another piece of equipment you can use is a reflector.
-
Background light – This lighting element illuminates your subject’s backdrop. You can use multiple lights for this component; however, you have to ensure the resulting brightness is equal to or less than your key light.
-
Hair light – Also known as a separation or kicker light, this element highlights your subject’s hair. It also makes your model stand out from the background.
Once you have a good idea of the different types of lighting, you have to know how to make them work together during each photoshoot.
During photoshoots, start with the key light first. Once you have taken one or two shots, decide if you want to use a fill, background, or hair light. You may even use only a reflector for the next photos.
Avoid adding lights because you think it’s the right thing to do. Study your test photos, and from there, figure out what you need to add or take away.
Since you are a beginner, it is best to keep photoshoots simple. This means not playing with lights because you want to give the appearance that you are a professional. Keep in mind that if you don’t use lighting correctly, you will come up with substandard photos. And this can easily happen if you play with lights heedlessly.
Whether you use one lighting fixture or more, make sure they produce an effect that makes the subject look his or her best. You can do this by knowing how and when to create hard and soft light.
A light source that is far from the subject produces hard light. Consequently, when it is close to the model, it gives out softer illumination.
If the subject looks better in front of a broad, soft light, move the lamp or strobes closer to the photo shooting area. In case a narrow, harder illumination enhances your model’s look, place the sources farther.
Again, you will know if a soft or hard light is better for your subject and the theme of your photoshoot only if you take a few test photos first.
Modifiers are tools used in photography that alter the lighting in the studio. Examples of these features are reflectors, soft-boxes, beauty dishes, and snoots.
Modifiers also come with grids which are tools that help prevent light from diffusing or spreading out sideways from the source.
These lighting tools help direct light on your subject and let you control the amount of brightness you allow on your background. They make it easier for you to focus the light exactly where you want it and prevent it from falling on other parts of your studio set.
When considering when to use a modifier and which one, think about whether you want a large light source giving the subject softer illumination or a smaller light source, which will provide contrasting brightness.
Once you have decided on this, you will have an easier time using the right modifiers and grids.
Good quality modifiers and grids tend to be expensive. If you don’t have these types of equipment yet, when booking a photo studio, find out if the provider has them and if you can rent or use them for free.
Using gels on background lights is a simple trick that offers amazing results.
A gel is a piece of transparent coloured plastic that you put over a lighting fixture to change its hue. They are affordable; you can buy them in sets so that you will have different shades to choose from.
By covering the background light (for instance, a strobe light) with a gel, you will create a vibrant, colourful background. With different shades of gel available, you will have a variety of hues to choose from, perfect for any theme or type of photoshoot you will handle.
To produce fascinating, eye-catching images, use shadows appropriately during the photoshoot.
If you want the photos to be dramatic, try placing a light high above and slightly to the side of your subject. Angle it down a bit so that the shadow of the nose falls more than midway down the upper lip. Aside from the theatrical effect, this helps make the subject look better on the picture, too.
To add volume to photos, place a light source above, on the side, or below the subject. The fixture will create deep and long shadows, giving the image a sense of three-dimensionality.
Studio lighting is all about combining different methods, using the right tools, and, more importantly, experimenting. Even if you become a seasoned professional photographer, you need to continue playing with and making lighting techniques work together.
Keep in mind that no subjects and photoshoots are the same. As such, you need to be open-minded, flexible, and creative to satisfy your customers and keep them coming back.
AUTHOR BIO
Adam Jacobs is the owner of Windsor Photo Studios in Melbourne, Australia and Managing Director of Bubblegum Casting, the country's longest operating modelling, talent and casing agency for babies, children and teens. Adam is a creative digital marketer focused on growing companies' online presence and performance using both tried and true as well as cutting-edge growth marketing and growth hacking tactics.


